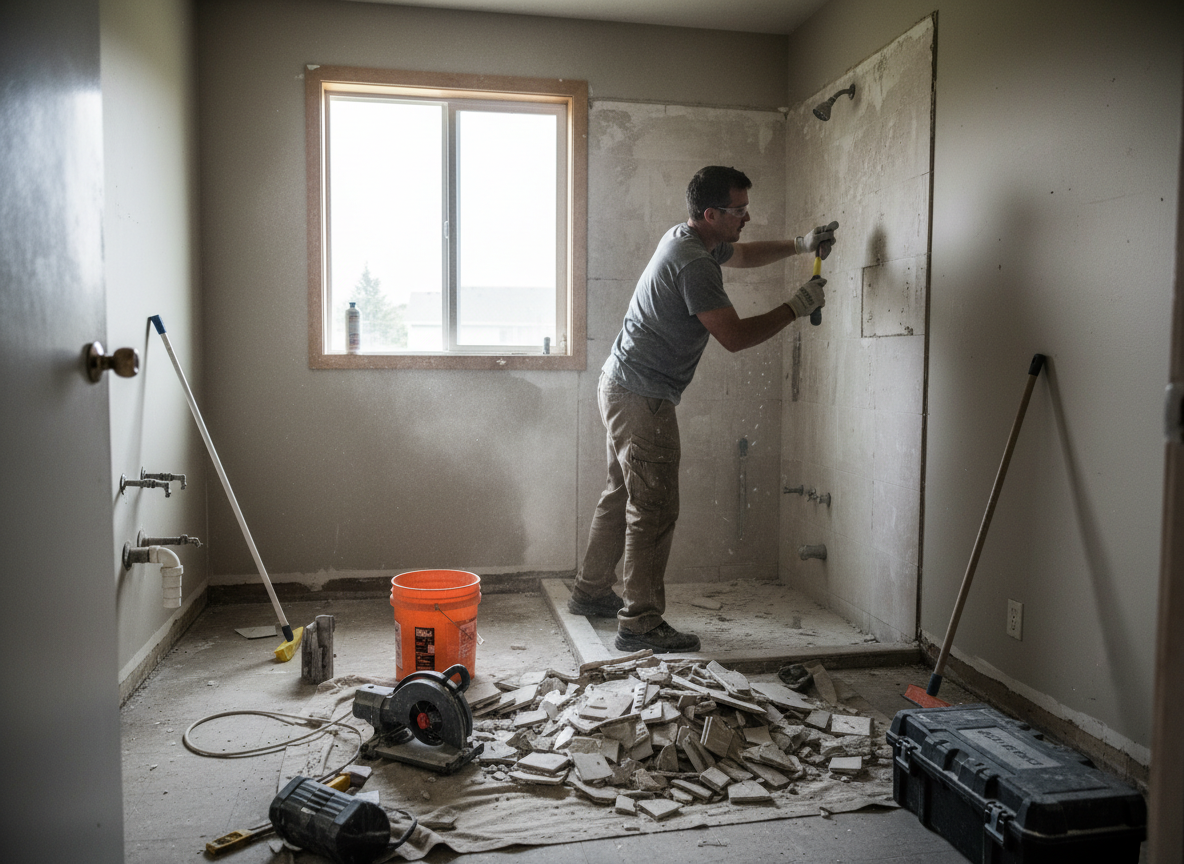
Milwaukie homes built before 1980 in Ardenwald and Hector Campbell often carry original cast-iron drains and single-layer drywall that fails quickly once moisture from the Willamette River humidity reaches the studs. A proper bath remodel starts with full removal to the studs, followed by cement board on all wet walls and a Schluter-style membrane under tile to stop vapor drive into the framing. We route new PEX lines in straight runs with accessible shutoffs rather than fishing behind finished walls, which prevents the hidden leaks common in these older Clackamas County properties.
Warm dry summers allow exterior ventilation work without weather delays, but the real constraint is interior drying time between demo and tile. We run commercial dehumidifiers for 48 hours after any plumbing rough-in to bring wall cavities below 12 percent moisture before insulation and drywall. This step is critical in Downtown Milwaukie bungalows where original plaster meets modern tile transitions and small foundation shifts from river-adjacent soils can crack grout lines within two seasons if the substrate is not fully dry.
Code requirements in Clackamas County now mandate 1/2-inch cement board behind all tile and GFCI protection within 6 feet of any tub or shower edge. We also add blocking for future grab bars in every remodel because many Island Station homes are single-story ranches where owners plan to age in place. Skipping these details during bath remodeling leads to expensive callbacks when inspectors flag the work or when resale inspections occur.
Technician insight
In Milwaukie, the thing that catches most people out with bath remodeling is the original cast-iron drain lines in Ardenwald homes from the 1960s and 70s. Once you open the floor, those pipes are often cracked from years of wet winters and minor soil movement near the Willamette River. We always camera the main before closing up the subfloor.
Ardenwald Bath Update
Homeowner in Ardenwald reported slow drain and musty smell after heavy winter rains. We opened the floor and found a cracked cast-iron branch line under the tub. Replaced the line with PVC, added a new membrane and tile, and vented the space properly. The bath now stays dry through summer and winter.
How it works
- 1
Site Assessment
Measure the existing bath, note drain locations, and check for water damage in walls and subfloor.
- 2
Design and Material Selection
Review layout options and choose tile, fixtures, and waterproofing suited to Milwaukie humidity.
- 3
Demo and Rough-In
Remove old finishes to studs, replace any compromised framing, and install new plumbing and electrical.
- 4
Waterproofing and Finishes
Apply membrane system, set tile, and install fixtures with final caulking and ventilation.
- 5
Final Inspection and Cleanup
Walk through with the homeowner, test all functions, and remove debris from the site.
Pricing
Upfront quotes provided after on-site assessment of existing conditions.